ShavingUniverse.com

Register a free account now!

If you are registered, you get access to the members only section, can participate in the buy & sell second hand forum and last but not least you can reserve your preferred username before someone else takes it.

TNNSER 2.0

gvw755

Well-Known Member
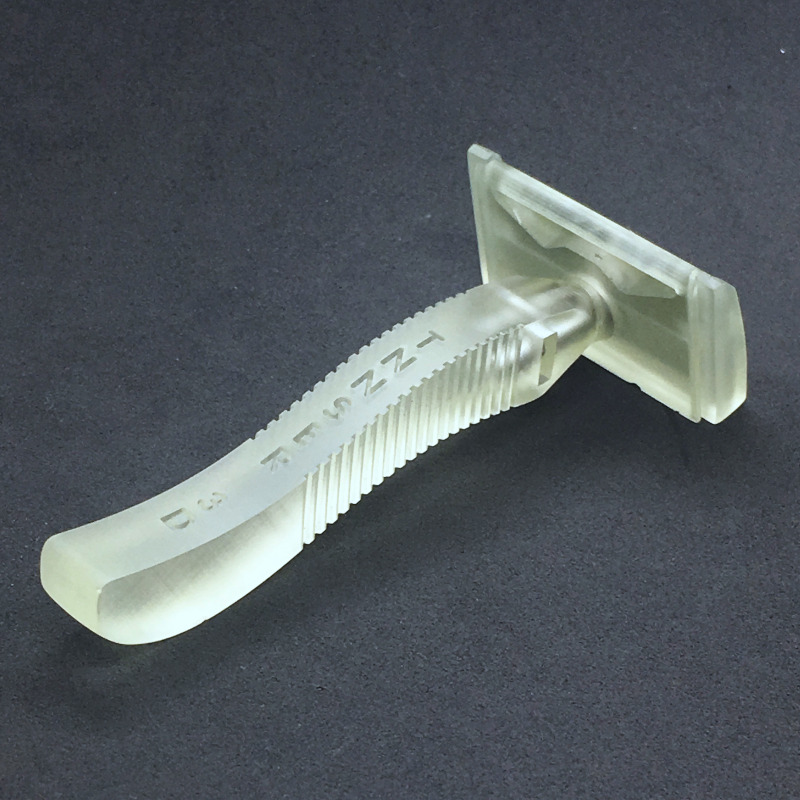
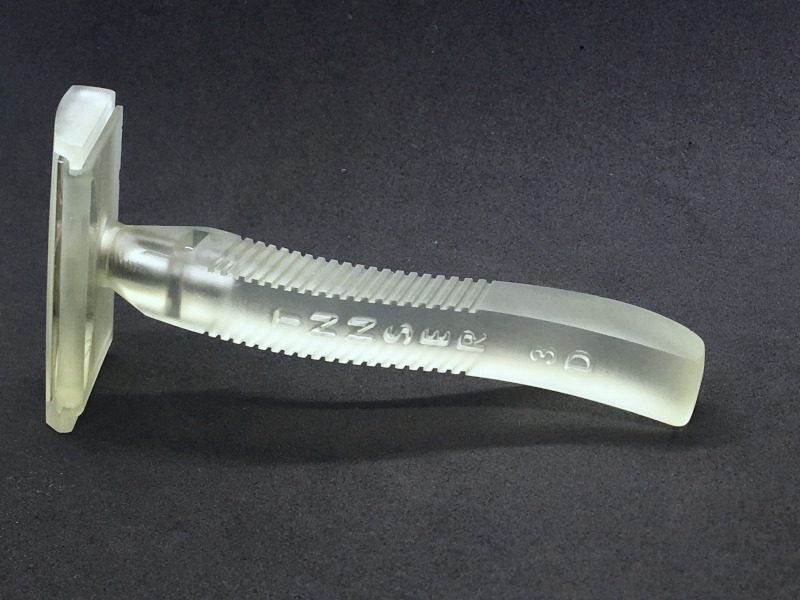
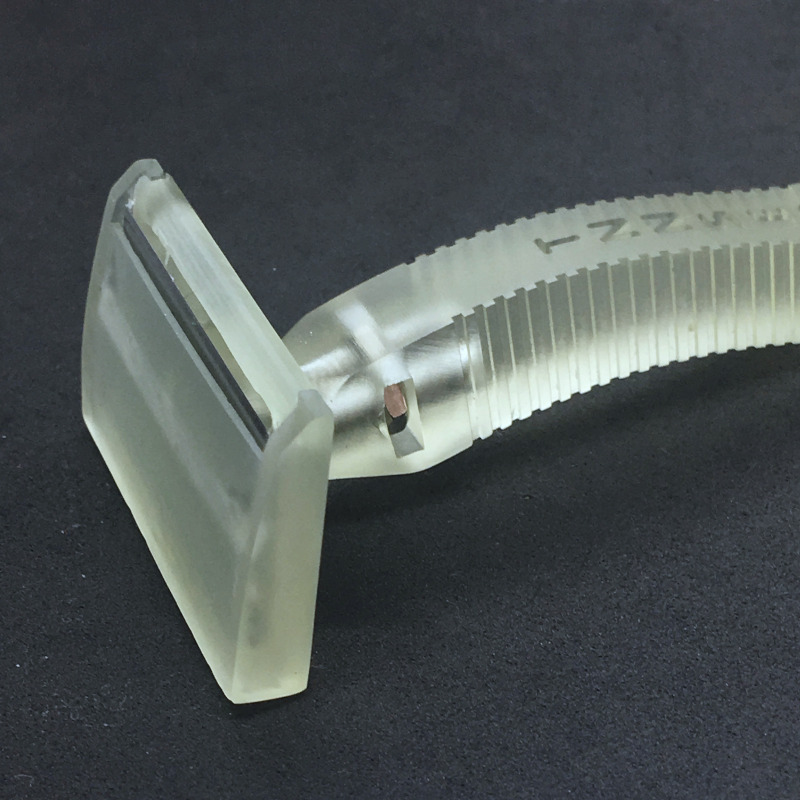
I happen to come in on the late stages of a Gem blade razor project, the TNNSER, and it was to be 3D printed in plastic. I believe sɐǝɹpu∀ was involved in this project and so he might be better able to talk about it. I do know that the Ender type handle was designed by him. I just received the razor today. The top slides forward and the blade is loaded in a groove for the spine and two nubs for the notch on each side of the blade. It was quite tight and hard to slide on and off with a blade loaded, however I hope things will get smoother after a couple of times.

First shave tonight.

DSC02901.JPG DSC02902.JPG DSC02903.JPG
 

sɐǝɹpu∀

Well-Known Member
I did indeed design the handle for this razor.
I'm quite happy with the way mine shaves (I actually have three right now).
If the two parts of the head don't fit nicely you can use a small file to remove a tiny bit of material from the parts.
The razors do need a bit of post-print finishing. They are pretty much still prototypes.
I like to have mine printed in clear resin. For the looks and because the print resolution is higher.
My next one (same design as yours) should arrive in two days time.
I hope I didn't get millimetres and inches confused like last time:
Version3InVeniceS.jpg
 

gvw755

Well-Known Member
First shave was great. The cap gave you the proper angle to use and the shave was quite efficient. It was a noisy razor as the parts were light and the large lather hole on the bottom just magnified the sound. This was a good thing as sometimes it was hard to feel the cap against your face because of the plastic and lightness. This was not unlike a vintage bakelite razor. No problem going WTG and ATG, and with all the safeguards built in the design, I can't see how it could nick anyone. I got away with a two pass plus minimal touch up BBS. I could have gotten away with a one pass plus touch up DFS if I was in a hurry.

After I disassembled the razor and rinsed things out, I took out a nail file and worked on the areas of the groove and rounded out edges. It took about 15 minutes, but now I am able to take the cap off easily, using a towel. I also found out that possibly this razor could be an adjustable. If the cap is left forward, there is less blade exposure, and if it is extended further back from where it should align, there is more blade exposure. Might be an experiment for future shaves.

@sɐǝɹpu∀, I would be interested in seeing your razor when it arrives. Did you go through the same 3D printer guy that the rest of us did?
 

sɐǝɹpu∀

Well-Known Member
I didn't like the choice of colours offered, so I ordered a TNNSER 3D locally - made from clear resin.
I am very pleased with the results. It did cost more than the black one shipped from the US.

IMG_5734.jpg


IMG_5736.jpg


IMG_5737.jpg


IMG_5738.jpg
 
Last edited by a moderator:

gvw755

Well-Known Member
Locally meaning somewhere on your side of the world? When I asked, I was told that the printer on my side would not even entertain such a request, however I do have a green one coming some time soon. Take out the red paint again! :Eek
 
Top